A used mobile crane inspection checklist should identify the exact crane, define what will be checked, and state what was not verified. A generic “passed inspection” message is not enough to support a purchase decision.
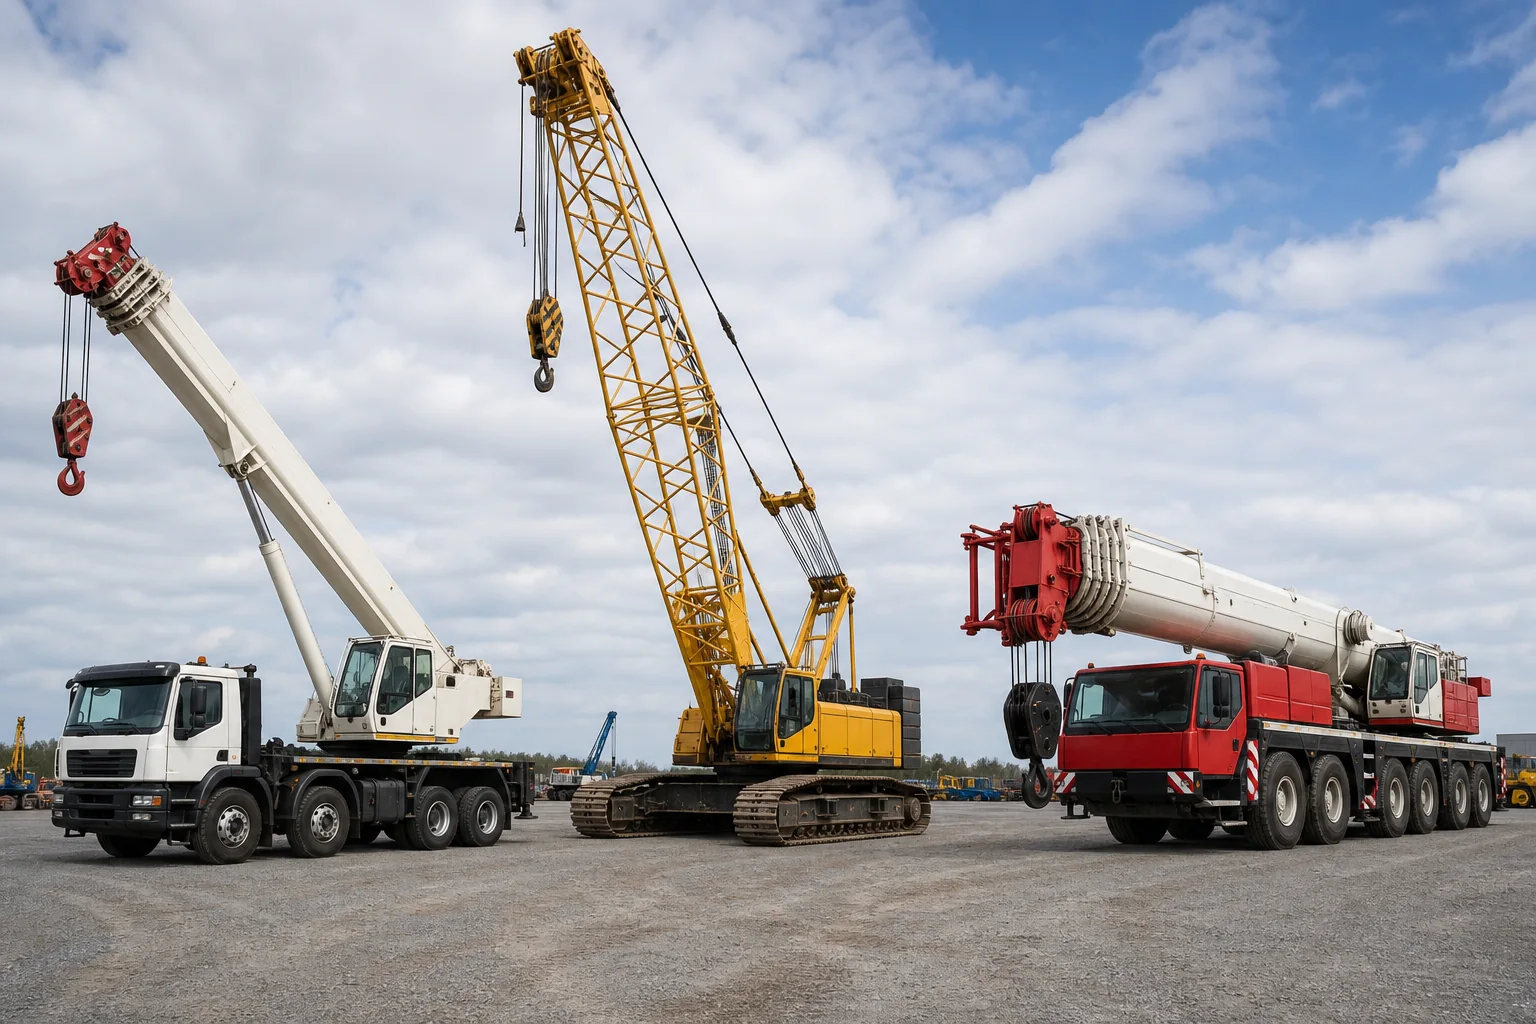
This guide focuses on used truck and all-terrain cranes. Many checks also apply to crawler cranes, but crawlers require additional verification of track gear, lattice-boom components, transport pieces, and assembly completeness.
Agree the Inspection Scope First
Before the inspection, record:
- buyer, seller, inspector, location, and inspection date;
- brand, complete model suffix, serial number, and stated year;
- machine category and offered configuration;
- included boom, jib, counterweights, hook blocks, rigging, tools, manuals, and spare parts;
- whether the machine can start, travel, steer, brake, deploy outriggers, slew, telescope, boom, and operate winches;
- tests requested, site limitations, available loads, and safety restrictions;
- report format, required photographs, video, measurements, and fault-code evidence;
- areas that may remain inaccessible or unverified.
The inspection scope should match the purchase risk. A short remote walk-around and an independent physical inspection are different products and should not be described as equivalent.

1. Identity, Configuration, and Documents
- Photograph the complete nameplate and serial number.
- Compare brand, model suffix, serial number, stated year, and rated information with available documents.
- Record hour-meter readings without assuming they prove total lifetime hours.
- List the installed and loose configuration separately.
- Photograph counterweights, jib sections, hook blocks, boom sections, tools, and other included components.
- Note missing, substituted, damaged, or unidentified items.
- Review available manuals, service records, registration, ownership, origin, or export documents as applicable.
- State clearly when a document or claim was not independently verified.
Similar-looking machines and parent model names can have different carriers, booms, counterweights, electronics, and load charts. Keep the full suffix throughout the report and contract.
2. Carrier, Outriggers, Tires, or Undercarriage
For truck and all-terrain cranes, inspect:
- chassis and frame for visible deformation, corrosion, cracks, or repairs;
- axles, steering, suspension, driveline, brakes, and visible leakage;
- tire size, brand, tread, damage, age markings when available, and consistency across positions;
- outrigger boxes, beams, cylinders, floats, locks, controls, and extension positions;
- carrier cab instruments, lights, mirrors, wipers, horn, and safety equipment;
- road-travel functions only where the machine, site, and operator conditions permit.
For crawler cranes, replace the tire and outrigger checks with track shoes, rollers, idlers, sprockets, tension, travel drives, carbody connections, and the completeness of dismantled undercarriage components.
3. Boom, Jib, Superstructure, and Lifting Components
- Check telescopic boom sections for alignment, visible deformation, corrosion, repairs, and abnormal wear.
- Review welds, pins, bushings, wear pads, sheaves, boom head, and attachment points.
- For lattice booms, inspect chords, lacings, connector areas, pins, pendants, and section identification.
- Inspect hook blocks, hooks, latches, swivels, sheaves, and identification markings.
- Observe wire ropes for visible damage, reeving, lubrication, spooling, and compatibility with the offered configuration.
- Review the slew area, counterweight attachment, operator cab, access systems, guards, and visible superstructure condition.
- Record evidence of repairs and request further structural examination where visual findings justify it.
A sales inspection should not claim to prove hidden structural integrity from photographs alone.
4. Hydraulics, Cylinders, Slewing, and Winches
- Look for active and historical leakage around pumps, valves, hoses, fittings, cylinders, motors, tanks, and coolers.
- Check exposed hoses for abrasion, cracking, poor routing, damaged fittings, or improvised repairs.
- Observe cylinder rods and seals for scoring, corrosion, leakage, and abnormal movement.
- Operate boom, telescope, slew, outriggers, main winch, auxiliary winch, and other agreed functions when conditions permit.
- Listen for abnormal noise and observe hesitation, drift, vibration, overheating, or inconsistent control response.
- Check winch drums, rope spooling, brakes, guards, and visible mounting condition.
- Record functions not operated and explain why.
Hydraulic pressure or performance testing requires the correct procedures, instruments, specifications, and qualified personnel. Do not infer pressure from movement alone.
5. Engine, Transmission, Cooling, and Electrical Systems
- Observe cold or agreed-condition start when feasible and record whether the engine was already warm.
- Check cranking, idle stability, smoke, abnormal noise, warning lights, visible leaks, and fluid condition.
- Inspect cooling system, belts, hoses, filters, exhaust, battery, charging, and visible wiring.
- Review transmission and travel response where an operating test is included.
- Record dashboard hours, warning messages, diagnostic codes, and display condition.
- Test working lights, alarms, cameras, horn, wipers, emergency isolation, and other agreed electrical functions.
A cleared warning light after restart does not prove that an intermittent fault has been resolved. Capture codes and symptoms before any reset where possible.
6. Operator Controls and Safety Devices
Check the controls and devices applicable to the exact model and configuration, which may include:
- load-moment or rated-capacity system;
- boom angle, length, radius, height, and load displays;
- anti-two-block, limiters, alarms, interlocks, and emergency controls;
- outrigger-position sensing and working-area selection;
- cameras, wind information, level indication, and travel warnings;
- control levers, pedals, switches, seats, glass, visibility, and cab condition;
- load chart, manuals, decals, and warning information.
The inspection should state whether a device was only powered on, functionally triggered, calibrated, or not tested. Those are different levels of evidence.
7. Functional and Load-Related Testing
A no-load operating demonstration can show whether selected functions move and whether obvious leaks, noise, drift, alarms, or control problems appear. It does not confirm full rated performance.
If a load-related test is required, agree in advance:
- applicable standard, procedure, and responsible qualified person;
- test load and verified weight;
- crane configuration and correct load chart;
- ground-bearing review, level, support, and exclusion area;
- rigging, operator, signal person, and emergency arrangements;
- measurements, acceptance criteria, and report evidence;
- treatment of any failure, alarm, leakage, or unexpected movement.
Never improvise a load test merely to produce a sales video.
8. Photo, Video, and Report Deliverables

The report should contain:
- machine identity, location, date, inspector, and inspection scope;
- overall and component photographs linked to the findings;
- functions and tests actually performed;
- readings, codes, measurements, and documents reviewed;
- defects, repairs, leaks, wear, alarms, missing components, and inconsistencies;
- inaccessible areas and items not verified;
- recommended repair, further examination, or specialist review;
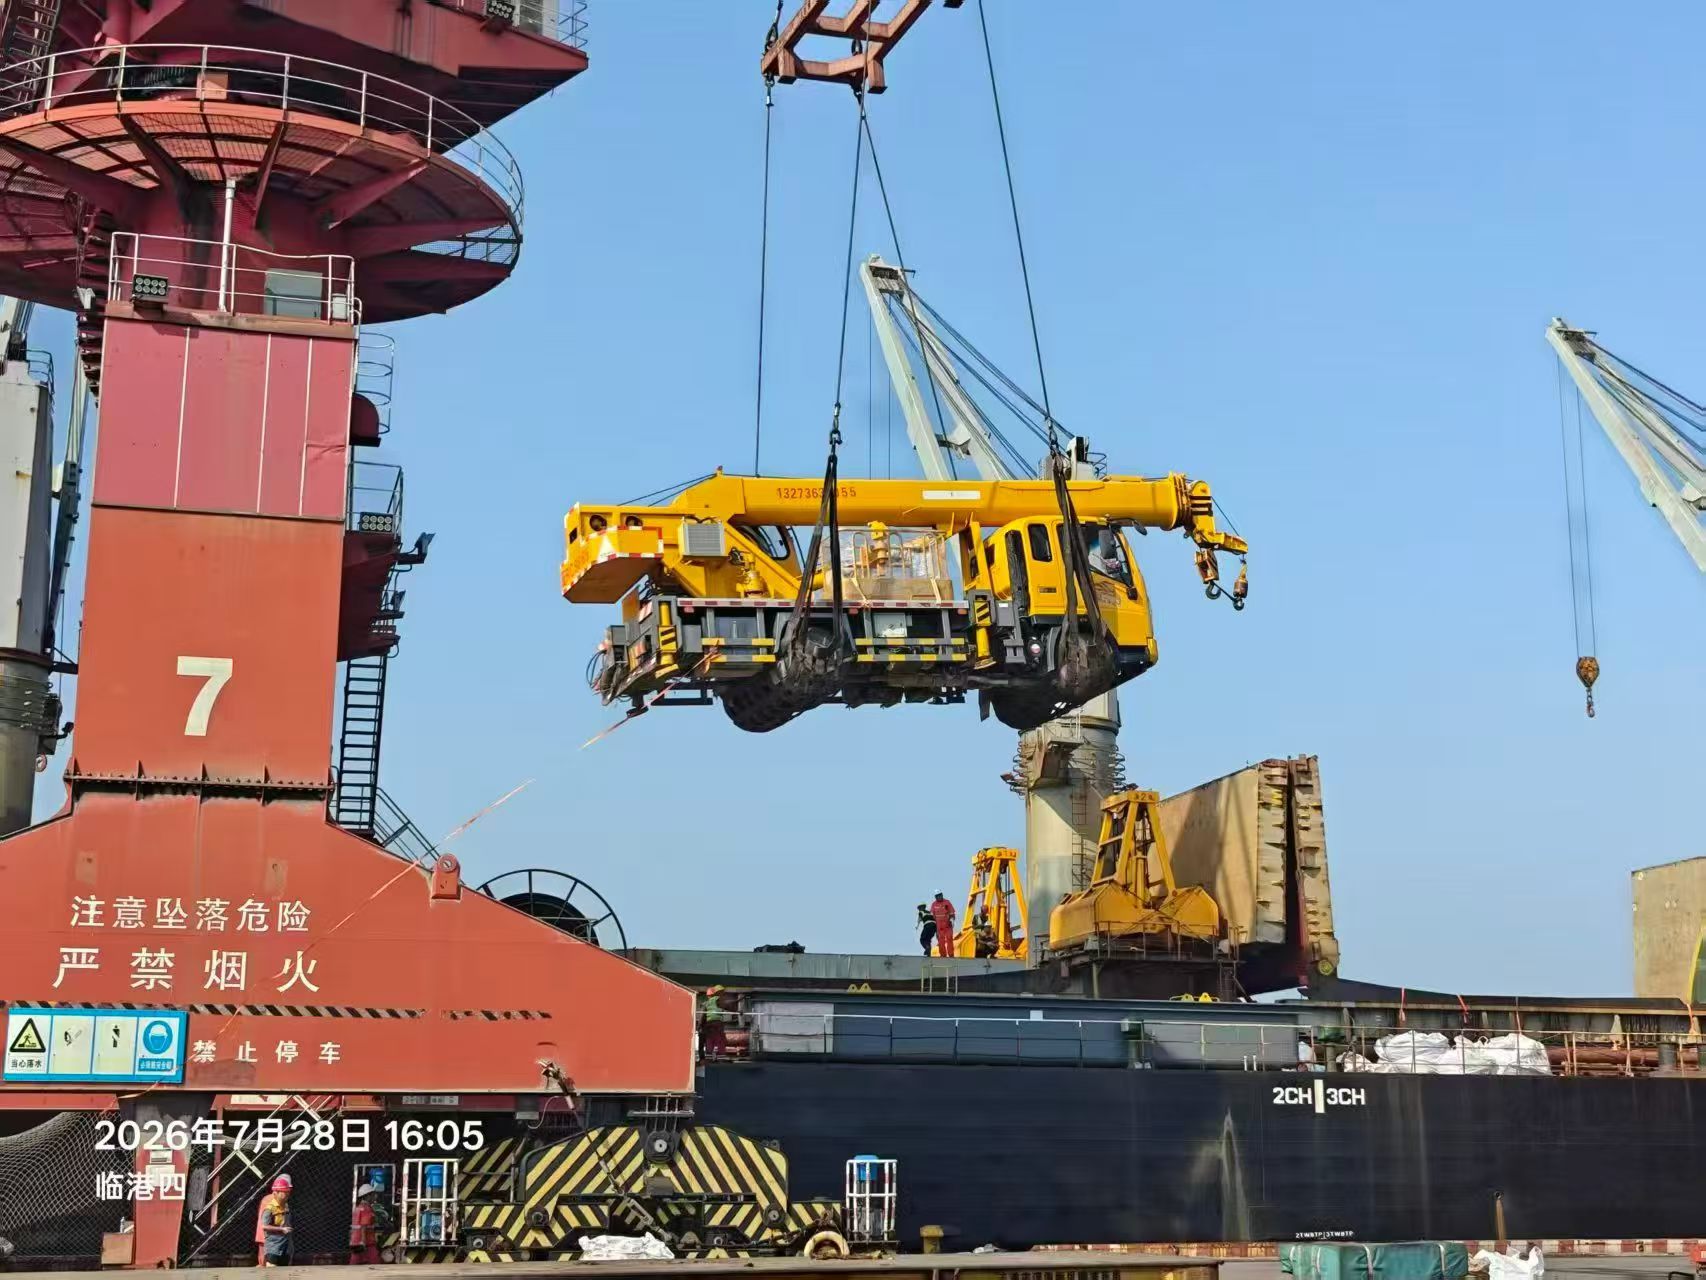
- component inventory where the crane will be dismantled for shipment.
Keep original files where possible. Compressed chat images can hide detail and remove useful metadata.
9. Turn Findings into a Buying Decision
Classify findings instead of reducing the inspection to “pass” or “fail”:
| Classification | Buyer response |
|---|---|
| Identity or ownership inconsistency | Stop and resolve before payment |
| Missing required configuration | Reprice, source the component, or reject the machine |
| Safety-system or structural concern | Obtain specialist review and agreed remedy before acceptance |
| Repairable mechanical defect | Define repair, evidence, responsibility, cost, and retest |
| Cosmetic or non-critical wear | Record condition and consider it in price and preparation |
| Not tested or inaccessible | Treat as remaining uncertainty, not as a pass |
Attach the accepted inspection report, component list, disclosed defects, agreed repairs, and required evidence to the contract. Tie payment stages to the written transaction rather than relying on verbal assurances.
The inspection is one part of the purchase. Also verify the seller, payment beneficiary, trade term, shipping plan, documents, and destination requirements using the safe buying guide.
Open a current crane listing and send the exact model and requested inspection scope to receive machine-specific information.